 By Laura Caiswell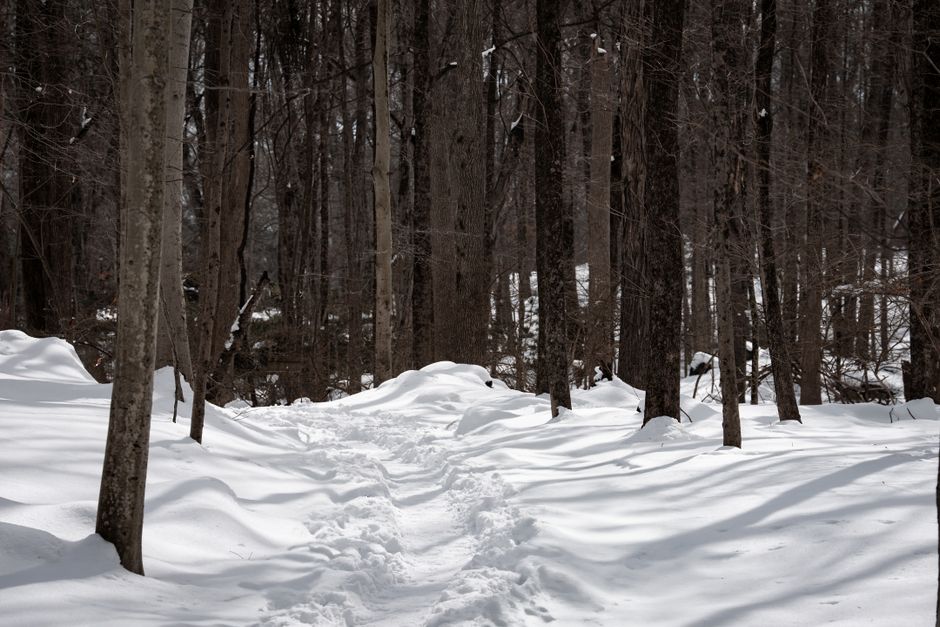
You arrive at an Alpine resort expecting a gentle winter walk, then see a narrow trail climbing through deep snow. The scenery is perfect, but the route looks harder than the brochure suggested. Snowshoeing can be an easy first mountain activity when you choose a marked trail, check the avalanche forecast, and keep the first outing short.
The best beginner plan is simple: use a low-angle route near a resort, rent equipment before buying it, and walk with poles. You do not need ski skills, but you do need a sensible route and enough clothing for a slow, cold day.
Is snowshoeing in the Alps easy for beginners?
Yes, if you treat it as winter hiking rather than a shortcut into backcountry terrain. Snowshoes spread your weight over a larger surface, so your boots do not sink as deeply into soft snow. That solves the basic problem: walking across snow without wasting energy at every step. The shoes do not make steep or avalanche-prone terrain safe.
Start on a marked winter trail
Begin with a signed snowshoe path beside a ski resort, village, or Nordic center. Look for a route of 3 to 6 kilometres with less than 250 metres of ascent. A first trip should take two to three hours, including breaks. A groomed or regularly used trail is easier than untouched powder because the snow has a firmer base and the route is easier to follow.
Know the difference between easy and harmless
An easy trail can still cross icy ground, lose visibility, or sit below avalanche-prone slopes. Check the local weather and avalanche bulletin before leaving. The Swiss avalanche bulletin explains regional danger, but it does not assess every individual slope. In France, check the local Météo-France avalanche bulletin. At danger level 3 or above, inexperienced walkers should stay on open ski runs and marked trails rather than choosing a quiet off-piste route.
How do you choose a beginner-friendly Alps route?
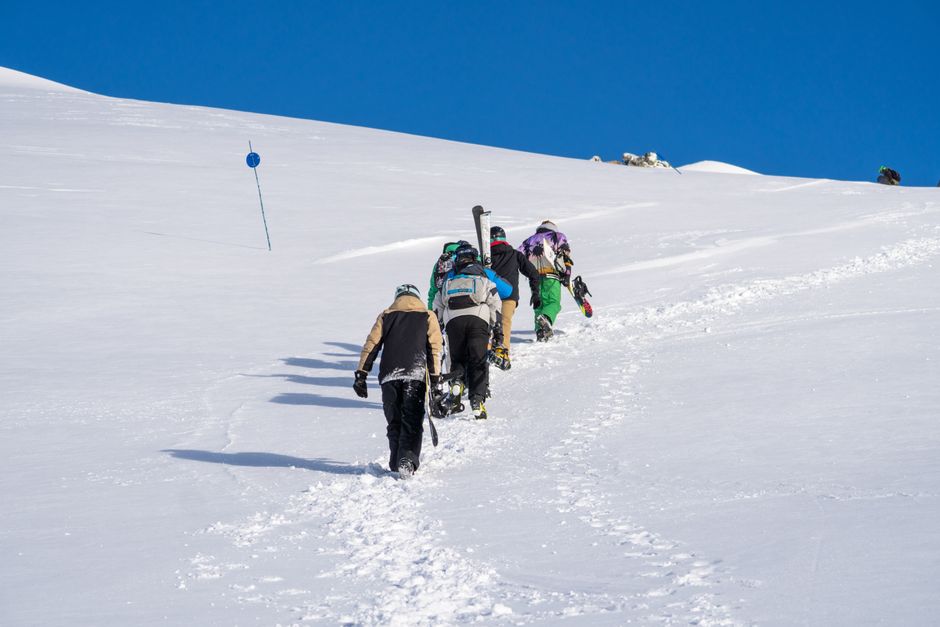
Choose the route before choosing the equipment. A beginner does not need the most technical snowshoes. A beginner needs a trail with clear signs, reliable winter access, and an easy way back to the village. Resort maps often mark snowshoe routes separately from ski pistes. Ask the tourist office or mountain hut staff which path remains open after fresh snowfall.
- Pick low-angle terrain. Look for a route with rolling ground and no exposed traverses. A gentle climb through larch or spruce forest is better than a direct ascent to a ridge.
- Set a distance limit. Choose 3 to 6 kilometres for the first walk. Deep snow can make a short route feel long, especially when nobody has broken trail.
- Check the return option. A loop is useful, but an out-and-back route gives you a clear turnaround point. Turn around when you have used half your planned time, not when everyone is already tired.
- Check opening information. Snowshoe routes can close after storms, forestry work, or avalanche control. A route shown on an old blog may not be open this winter.
- Choose daylight over drama. Start by 9:30 or 10:00 a.m. in January and leave enough time to return before dusk. Snow slows the group and phone batteries drain faster in cold weather.
The best first route is usually near a lift station or village, not because it is less scenic, but because help, transport, and warm food are close. Save remote ridgelines for a guided outing after you understand how your gear behaves.
How should beginners walk uphill and downhill in snowshoes?
Shorter steps win. Keep your feet slightly wider than normal, lift each shoe clear of the snow, and place the whole foot down. Do not shuffle. On a climb, use the front teeth of the snowshoe and lean slightly forward from the ankles. On a descent, bend your knees and place your heel firmly before transferring your weight.
Use the right technique on a climb
Follow the existing track when possible. If the slope is gentle, walk straight up with steady steps. On a steeper section, switch to a diagonal line instead of forcing a direct ascent. Use the heel lift on snowshoes that have one; it reduces strain in your calves. Stop before you are breathless. A two-minute pause every 20 to 30 minutes is more useful than one long stop after exhaustion.
Cross slopes with care
When the trail tilts sideways, keep the uphill foot slightly higher and plant the downhill pole first. Avoid crossing a steep slope just because a shortcut appears on the map. If the snowshoe edge slips repeatedly, turn around. Beginners should not cross avalanche terrain to save ten minutes.
The clear verdict is to practise on flat snow for five minutes, then climb gradually. Most first-day falls happen during rushed descents, not on the climb.
Which snowshoes should beginners rent or buy?
For a marked, rolling trail, the MSR Evo Trail is the best beginner buy among the examples below. Its simple bindings and steel traction work well on packed snow and moderate rolling ground.
When renting is the smarter choice
Rent when you are visiting the Alps for one trip, still testing the activity, or unsure about your size. A rental shop can match the snowshoe length to your total load, including backpack and clothing. Ask for poles with wide baskets and practise tightening the bindings while wearing gloves.
When not to buy a technical model
Do not buy the TSL Highlander Original 2 simply because it looks safer. TSL classifies it for advanced to expert hikers and gives it aggressive front teeth, side grips, and an ascent heel lift. Those features make sense on steep terrain, but they add cost and weight for a beginner staying on a maintained trail. If your planned route needs that level of traction, book a guide rather than assuming stronger gear solves the route problem.
What can go wrong on a beginner snowshoe trip?
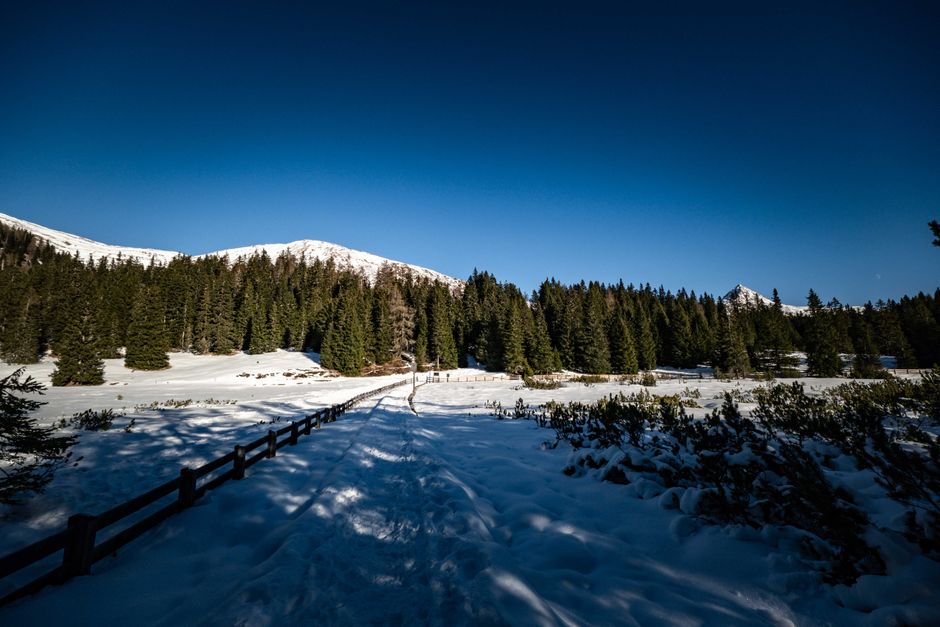
Most bad days come from small planning errors, not a lack of fitness. These are the questions worth answering before you leave the resort.
Can snowshoes prevent avalanches?
No. Snowshoes help you float on snow, but they do not reduce avalanche danger. If a route enters avalanche terrain, you need the right training, a working transceiver, a probe, a shovel, and a route decision based on the current bulletin. A guided trip is the right choice for a first visit to unfamiliar backcountry terrain.
What if the snow is too deep?
Turn around or stay on a packed trail. Small recreational snowshoes may sink badly in fresh powder, especially when the user carries a heavy pack. Adding flotation tails can improve performance on some models, but tails do not replace a larger snowshoe matched to body weight and snow conditions.
What if the route disappears?
Stop moving and check the offline map. Do not follow random tracks into the forest. Marked winter routes can vanish after wind or heavy snowfall. If visibility drops, return along your known track or call the local rescue service. In Switzerland, the Swiss Alpine Club lists 112 as the European emergency number and 1414 for REGA rescue.
Never continue just to protect a booking, reach a viewpoint, or avoid admitting that the conditions changed. A warm café is a better outcome than a late, cold descent.
What should a first snowshoe day in the Alps look like?
Book one easy guided or marked-route outing, not a full-day summit. Your first goal is to learn how snow feels underfoot, how quickly you use water, and how your group handles climbs and stops. A simple schedule leaves room for poor visibility, binding adjustments, and a slow return.
| Time | Plan | Decision point |
|---|---|---|
| 08:00 | Breakfast and weather check | Cancel if the route is closed or warnings are active |
| 09:30 | Collect rental gear or meet the guide | Check boot fit, poles, straps, and phone battery |
| 10:00 | Walk 30 minutes on easy ground | Fix hot spots before continuing |
| 11:00 | Climb gradually on the marked route | Turn around if pace or visibility deteriorates |
| 12:30 | Protected lunch stop | Keep the break short enough to stay warm |
| 13:00 | Return by the same route | Allow more time for the descent |
| 15:00 | Return equipment and review the route | Decide if buying gear makes sense |
For most first-timers, the MSR Evo Trail or an equivalent rental is enough for this type of day. Choose the TSL Highlander Original 2 or another technical model only after you have learned basic movement and have a specific steep-terrain plan with suitable instruction. The Alps offer plenty of quiet winter scenery without asking beginners to take unnecessary risks.